Joomla is an award-winning content management system (CMS), which enables you to build Web sites and powerful online applications. Many features it has have made Joomla one of the most popular CMS available. What is the best of all, Joomla! is a free software for everyone.
This installation tutorial is based on Joomla v3.2 but the steps are general and valid for the entire Joomla 3 series. However, if something is drastically changed in near future we’ll update the tutorial accordingly.
Joomla! requirements
These are requirements need to be satisfied for successful Joomla installation:
- The minimum version of PHP required: PHP 5.3.1
- PHP’s magic_quotes_gpc: must be disabled
- PHP’s register_globals: must be turned off
Things to know and to do before installing Joomla
There are some thing you need to have prepared before you begin the install:
- access to your web server (via shell or FTP)
- an FTP Client (e.g. Filezilla)
- a web browser
Begin your installation by:
- ensure that the minimum requirements are satisfied
- download Joomla from http://www.joomla.org/download.html
- unzip the downloaded file to a folder on your hard drive.
Installing Joomla
1) Download and Extract
The first step is to download the latest Joomla version from: http://www.joomla.org/download.html
2) Create the Database and a User
Joomla requires a database and assigned user with proper permissions for installation so you need to create one.
Note: Take note of your database name, username, and password. You will need these information during the installation.
3) Upload the files
Now you need to upload Joomla files to the web server using a FTP software such as FileZilla.
4) Run the installation wizard
Point a web browser to the uploaded Joomla folder to start the installation script, e.g. yoursite.com/joomla32
5) Configuration
The configuration page will offer you to select desired language and you need also to enter information about your website and administrative details. After you finished this step, click Next to proceed.

6) Database
The next step is to provide database details.
Note: You can set on most servers the Database Type to “MySQLi” and Host name to “localhost”.
Once again, click the Next button after you enter the data.

7) Overview
On this screen you’ll be offered with an option to install sample data, so this will help you in learning Joomla if you use it for the first time.
You can also choose to have a copy of the installation details emailed to you if you want to.
After you’ve reviewed all information, click the Install button.

The progress screen will appear informing you about overall installation process.

8) Finishing the installation
The success message will be displayed after Joomla is installed.

Press the “Remove installation folder” button in order to delete the installation folder.
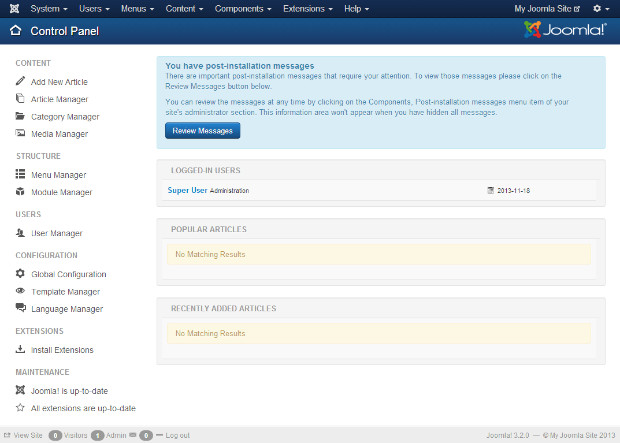
Your Joomla site is up and running so you can log into the site’s dashboard and start creating your content.

